Mar 18, 2021 By Team YoungWonks *
How can one use an infrared sensor with the Raspberry Pi Pico? With Raspberry Pi rolling out the all new Raspberry Pi Pico now, this is a rather common query for makers.
An infrared sensor is a sensor that can measure the infrared light / electromagnetic radiation emitted by an object thereby detecting its presence. In this blog, we shall take a look at writing a program to use an infrared sensor with the Raspberry Pi Pico.
What is Raspberry Pi Pico?
Raspberry Pi refers to a series of small single-board computers developed in the United Kingdom by the Raspberry Pi Foundation in association with Broadcom. The boards have been made keeping in mind the promotion of teaching basic computer science to kids. The latest offering by Raspberry Pi is the Raspberry Pi Pico, a new flexible IoT board. Essentially, it is a microcontroller board built on silicon and designed at the Raspberry Pi Foundation.
Priced at merely $4, Raspberry Pi Pico is smaller than the average Pi and indicates how the foundation is now looking to branch out into microcontrollers and custom silicon.
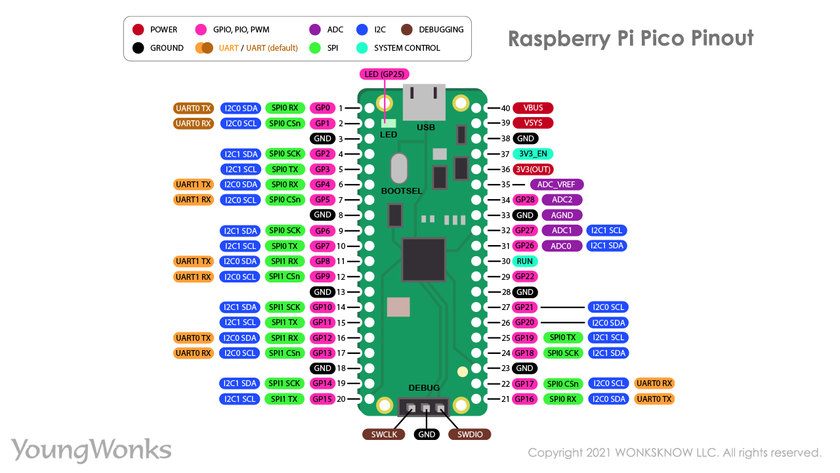
Raspberry Pi Pico pinout
In order to use it well, it is recommended to get well acquainted with the Raspberry Pi Pico pinout. The diagram below explains this.
Raspberry Pi Pico projects
As a microcontroller, the Raspberry Pi Pico can be used in many projects, be it Internet of Things (IoT), Adafruit Neopixel projects, data logging, small to medium scale robotics, projects needing interfacing with cameras, analog sensing (using environment sensors) and more.
Using an infrared sensor with a Raspberry Pi Pico
Now we are going to learn how to use an infrared sensor with a Raspberry Pi Pico.
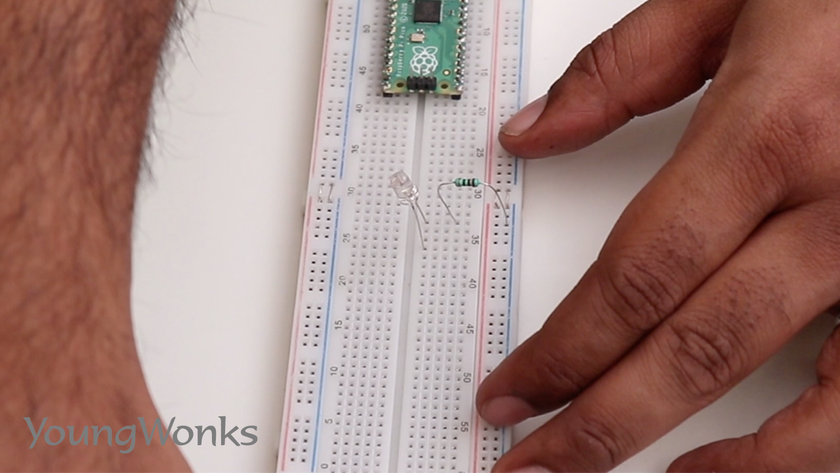
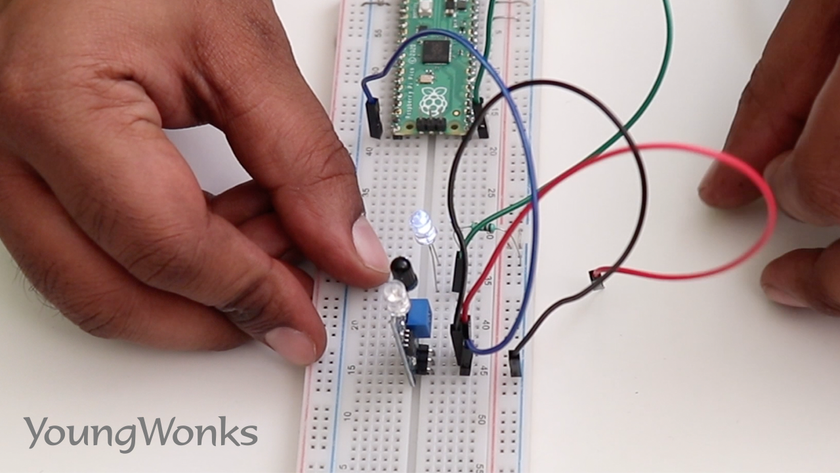
To begin with, we shall need a Pico on a breadboard, an infrared sensor, an LED, a resistor and four wires. 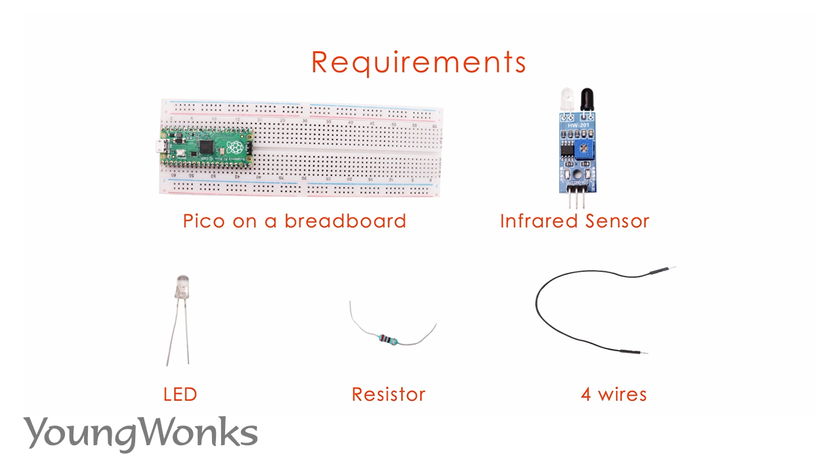
Take a look at the circuit diagram that will help you build a circuit. 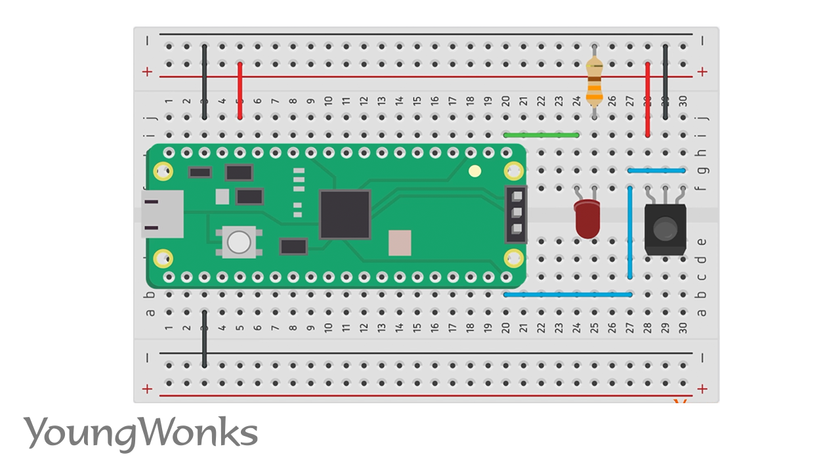
A wire circuit is also helpful to this end (building a circuit).
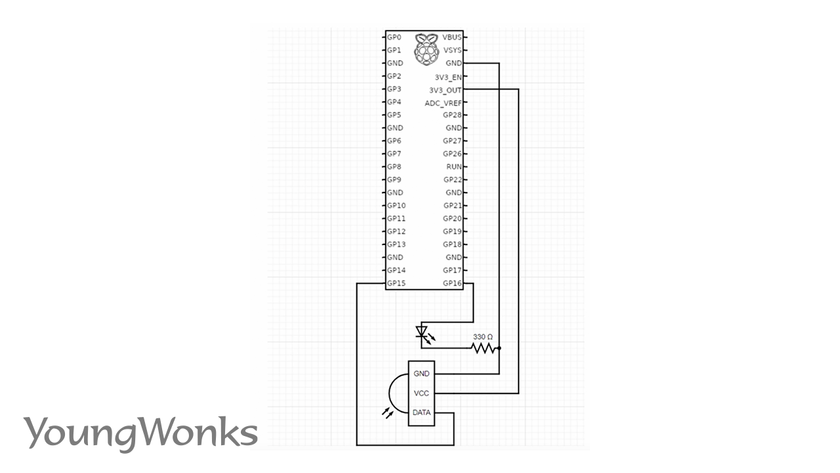
We first plug in the LED to the breadboard.

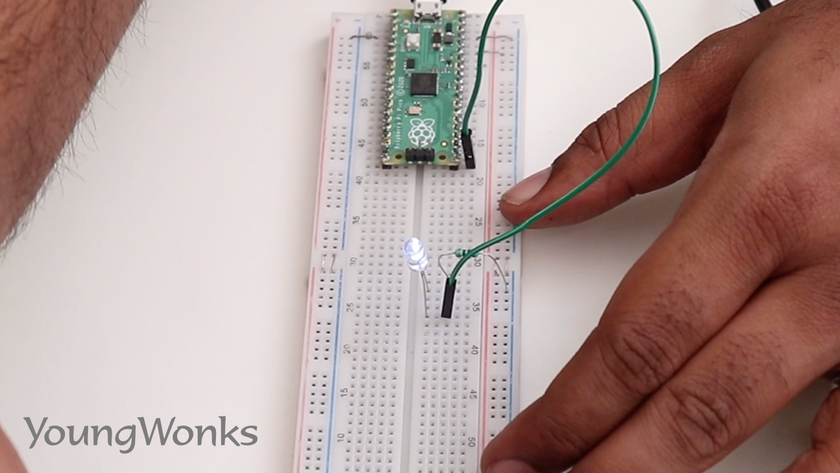
Next we connect the negative end of the LED to the ground through a resistor.
Then we connect the other (positive) end of the LED to the GPIO pin configured as an output.
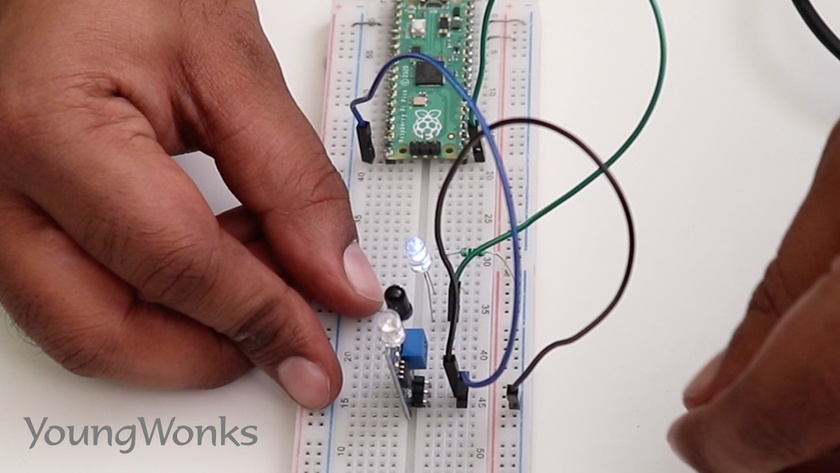
We then plug in the infrared sensor; this has three terminals: VCC (Voltage Common Collector), ground and output signal. We connect the output signal to a GPIO pin configured as an input.
We then connect the ground pin to the ground power rail.
And next we connect VCC or power to the sight rail which is connected to the power of the Raspberry Pi Pico. 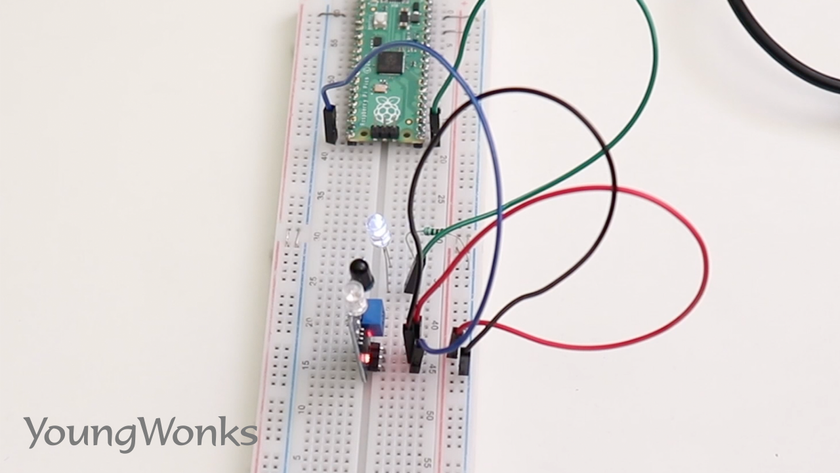
We then get down to the code. Firstly, we import the machine library to configure our pins. 
We also import the time library as usual. 
We configure one of the LED pins as an output.

Next we configure one of the pins of the sensor as an input. 
Now in a while loop, we constantly look at the input we receive from the sensor.

In case the sensor detects an obstacle, we set the LED to turn on.

Otherwise, we turn the LED off.

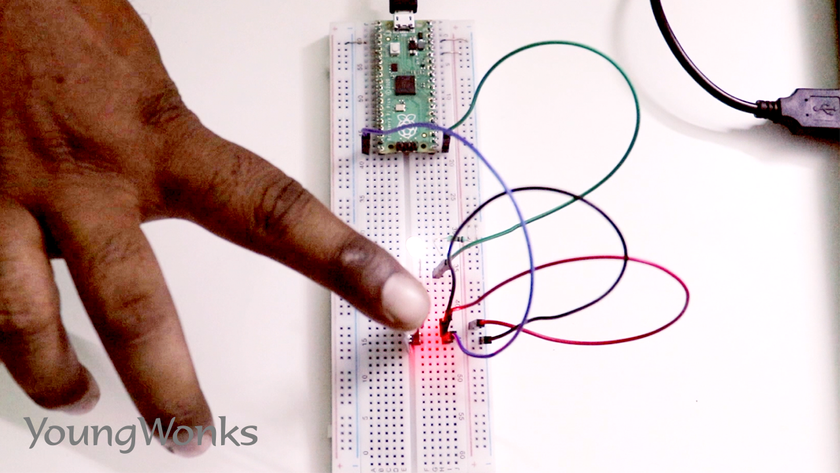
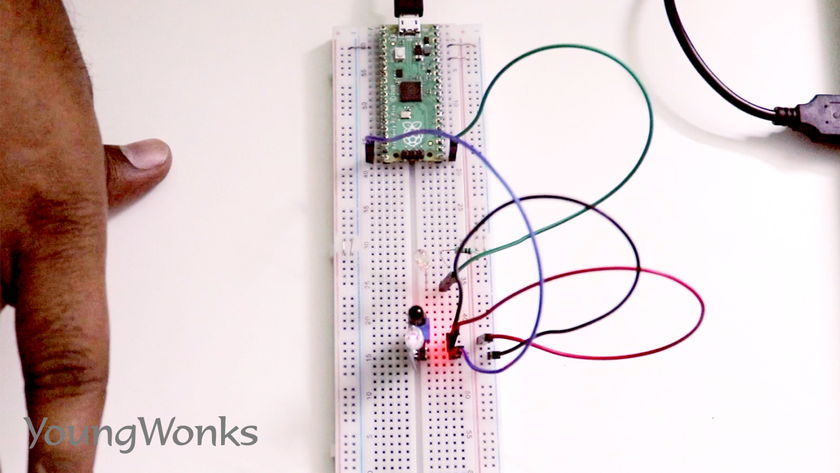
Now, make sure to tune the infrared sensor to the appropriate sensitivity and you will see the infrared sensor in action. Each time the presence of the object (here it is the finger) sets the LED on and taking it away switches off the LED.
You can watch the video below to take a quick look at how one can use an infrared sensor with a Raspberry Pi Pico:
If you're interested in making your Raspberry Pi Pico projects more exciting and interactive, incorporating an infrared sensor is a fantastic option. In our coding classes for kids, we dive into such fascinating projects, helping young minds grasp the fundamentals of sensors and their application in coding and robotics. For a more detailed look at our curriculum, check out our Raspberry Pi, Arduino and Game Development Coding Classes where we explore not only hardware interfacing but also game development and advanced programming concepts.
*Contributors: Written by Vidya Prabhu; Lead image by: Leonel Cruz