Jul 01, 2022 By Team YoungWonks *
For front-end developers, HTML and CSS are extremely important. We will first introduce you these two languages, and then look at some examples. This tutorial also has a mini project to get hands on experience to use HTML and CSS for your web pages.
If you are unfamiliar with front-end development, please read ''Introduction To Front-End Development'' blog from https://www.youngwonks.com/blog/Introduction-to-Front-end-development
This blog is a prerequisite to understand this tutorial.
Introduction to HTML and CSS
HTML or HyperText Markup Language is the standard markup language for the web browsers. HyperText refers to links that allow the browsers to jump to different sections of the web page and even to different web pages or websites.
A markup language uses definitive words as tags to define elements. The standard HTML tags include html, head, body, p (for paragraphs), h1 to h6 (for headings), a (for links), img (for images), ul (for unordered lists), ol (for ordered lists), li (for list items), table, header, section, footer and many others. Since HTML is not a case-sensitive language, writing <head> is same as writing <HEAD>. It is important to note that web browsers do not show the tags but use them to interpret the content of the web page. For example, writing <h1> Hello World </h1> will show Hello World as a heading on the page. The latest version HTML5 has addition of tags that include nav, header, section, footer, aside and a few more. Since HTML is not a programming language, it does not show us syntax errors. The following is the bare minimum code that you should write for your first web page.
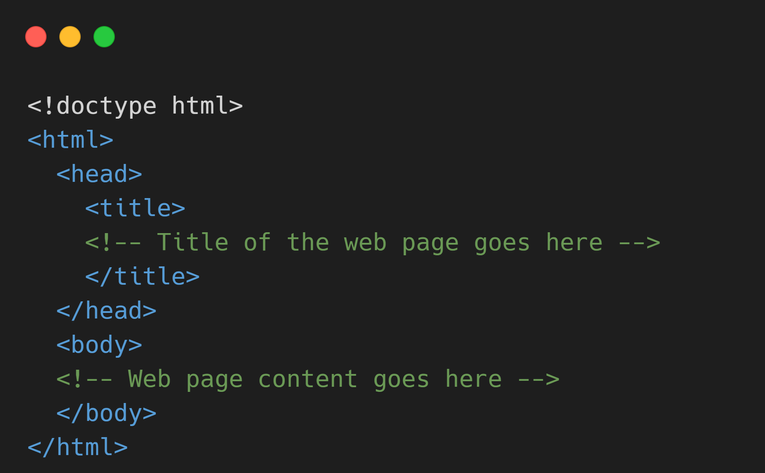
In the above code, <!doctype html> is written to let the browser know that this web page makes use of HTML5 syntax.
The files that contain HTML code end with .html extension. One must have a code editor (like Microsoft Visual Studio Code) on the system to work with such files and a web browser to see the web pages. All the operating systems come with a preinstalled web browser. Mac users can use the Safari browser, Linux users can try the Firefox browser, Windows users can use the Microsoft Edge browser. The users can even install the web browsers of their choice from the Internet.
Cascading Style Sheet (CSS) helps us to work on the presentation of documents written in HTML. This language essentially deals with how the various elements are displayed on the screen or other media. Supporting other markup languages like XHTML, XML, XUL and SVG, CSS is also used to control the layout of HTML documents.
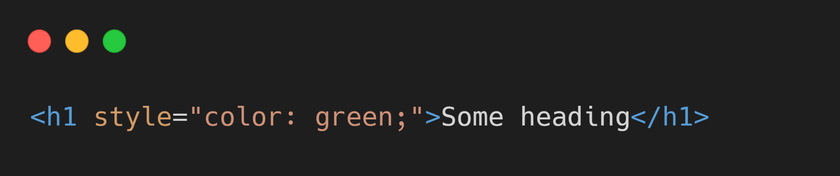
Before cascading style sheets, the web development community would write code like the one given below in order to color a heading:
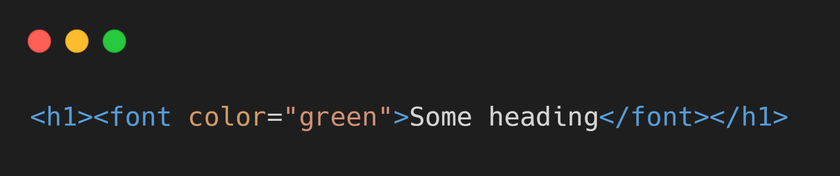
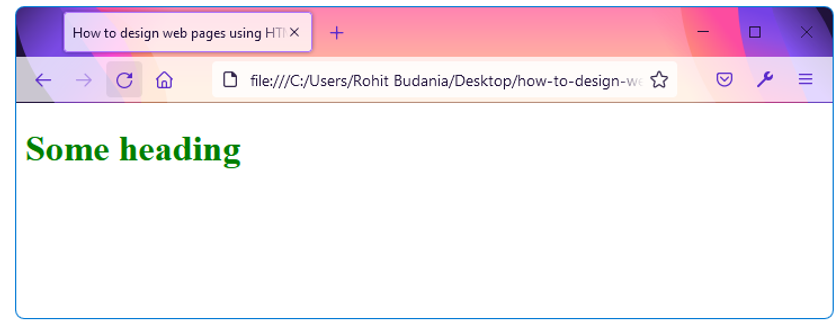
However, writing such code for multiple elements and pages became a long and tedious process. To solve this problem, the W3C (World Wide Web Consortium) created CSS.
Using CSS, the above code can be re-written as:
HTML Elements
There are two types of HTML elements:
1. Elements that need paired tags
2. Elements that need unpaired tags
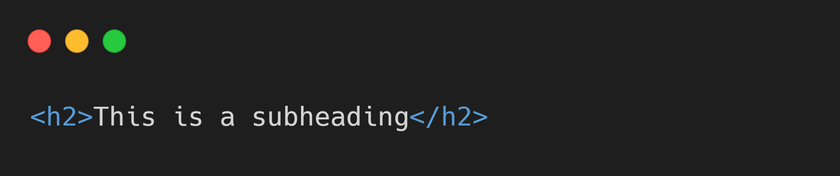
In paired tags, the first tag is called opening tag and the second tag is called closing tag. For example, to display a subheading on the HTML page, we can use the h2 tag in the following way:
On the other hand, the unpaired tags do not need any closing tags. One of the most widely used unpaired tags is the img tag. The following line of code brings a PNG image on the page using the image tag:
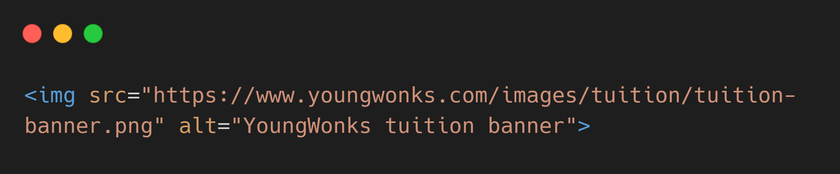
You might have already observed a new set of things in the above code that brings the image on the page. Let us understand that line of code in detail.
Here, img is the name of the tag that tells the browser to render an image. The src and alt are attributes of the img tag. Attributes provide additional information about the HTML elements and are always placed in the opening tag. In this example, the src attribute tells the source of the image and the alt attribute tells what to display if the browser cannot find the image.
A few more examples that make use of attributes:
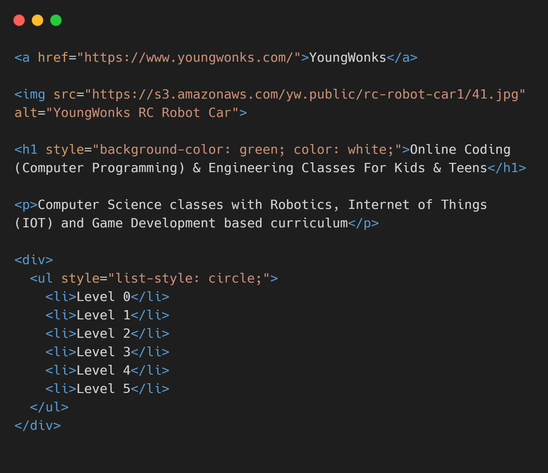
The a tag must have the href attribute so that it knows where to redirect the web browser. The background-color property can be used with most of the HTML elements. The img elements must have the src attribute so that the web browser knows the source of the image. Use of alt attribute is optional but helpful when the browser is unable to load the image.
Note that the div element acts as a container and can be used whenever you want to wrap and style multiple HTML elements together. In the above example, we have put only one unordered list in the div element, but you can modify the code and put any number of elements inside it.
Create a new HTML file on your system, say index.html and try the above code. Make sure to put the code in the body element (i.e. between <body> and </body> tags) of your HTML code.
You can refer to the HTML cheatsheet given below to learn more about the different tags available in HTML:
https://www.youngwonks.com/resources/html-cheatsheet
Ways to Use CSS
In this section, we will learn the different ways to use cascading style sheets in our code. There are three ways to use them with HTML elements: Inline CSS, Internal CSS and External CSS. We will discuss these three types in detail with examples.
Inline CSS
Inline styles affect one HTML element only. Such styles can be applied using the style attribute. If there are multiple styles applied to an element, we must separate them with semicolons ( ; ).
Syntax:

Examples:
The following line brings a red colored paragraph on the page:

The following lines bring a bordered element with rounded borders on the page with a paragraph inside it:
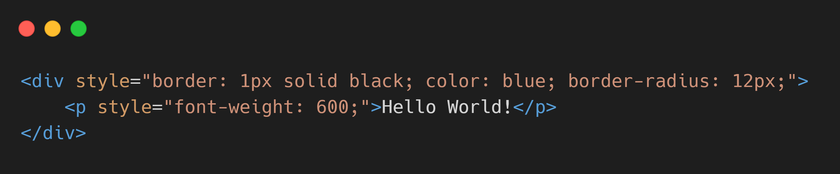

The border-radius property brings roundness to the corners of the div element. The font-weight property makes the text bold. The higher the font-weight value, the thicker is the text of the element.
As an exercise, try to put a link on the page using the a tag that has the href attribute set to one of your favorite websites. Add the style attribute to set the text-decoration property to none. This will remove the underline that earlier you could see under the link.
Internal CSS
A style sheet is said to be internal if the CSS style rules are placed inside the style element. It is recommended to put the style element in the head element of the HTML page.
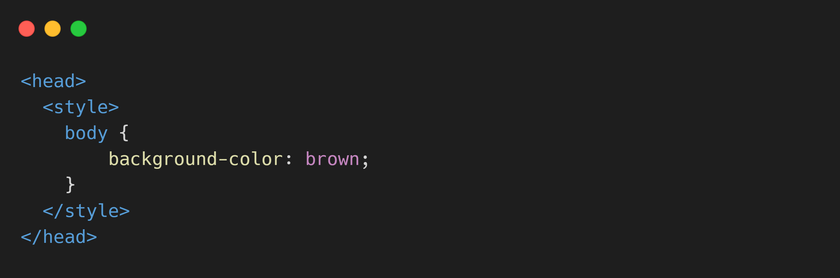
The following code sets the background color of the body element to brown using Internal CSS.
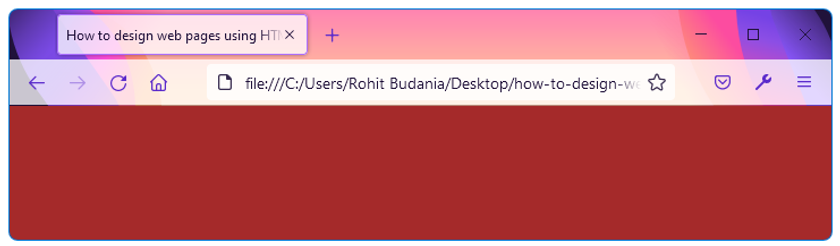
Try the above code on your system in a new file and then replace the background-color property with background-image. Set the value of this property to url https://s3.amazonaws.comproperty/yw.public/kid-attending-online-coding-class.webp. You can also add background-size property to set the size of the background. Use cover as its value and observe the changes.
External CSS
A style sheet is said to be external if the CSS code is placed in an external file with .css extension. This is useful when multiple HTML pages are supposed to use the same styles for their elements. An external style sheet can be linked to an HTML file by putting the following code in the head element of the HTML file:

The rel attribute specifies the relation between the linked file and the current file. It must be used with the href attribute.
As an exercise, create a CSS file and link it with your HTML file. Copy the internal styles from the previous section and put them in the CSS file. The CSS file does not need the style element inside it and you can directly put the CSS code inside the file.
CSS Selectors
This section will help us understand how to select certain HTML elements of the page and style them using internal and external CSS.
To apply styles to an element on the page, we need to select the element first. There are many ways of selecting an element, some of which are explained here. These CSS selectors can be used in the style tag and in the CSS file.
Element Selector
It selects the elements based on their tag names. For example, to set the text color of all the button elements on the page, we can write the following code.

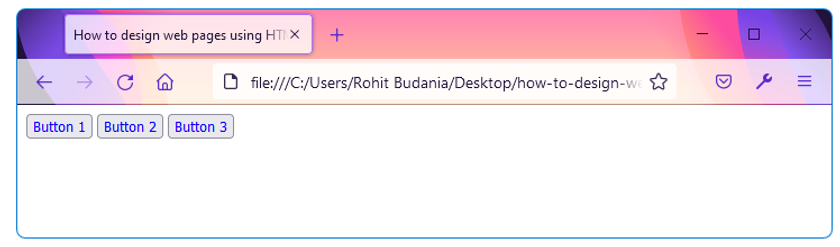
To set spacing inside and outside the buttons, we use the padding and margin CSS properties. These properties can be used with most of the other HTML elements. To understand these CSS properties better, check the following examples:
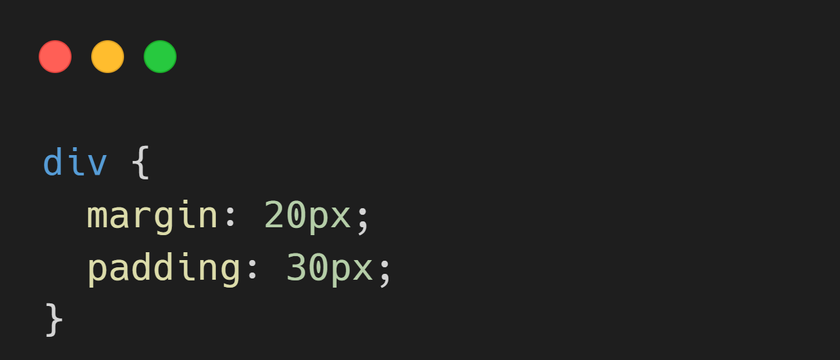
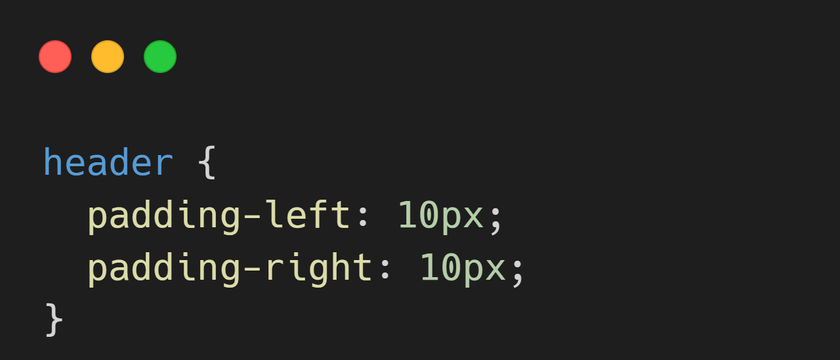

In the above code, we have put spacing inside and outside the div, header and section elements using tag names.
ID Selector
It selects the HTML element using its id attribute. The hash symbol is used to specify the id of the element in the style section and in the CSS file. Since the id of an element is always unique on the page, the id selector selects a unique element.
Consider the following element:
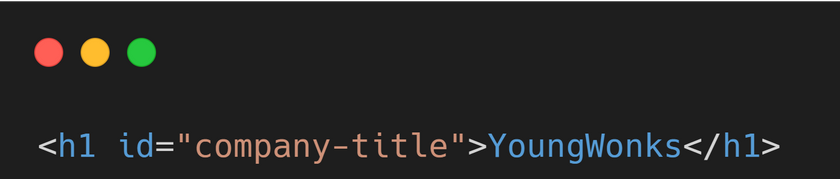
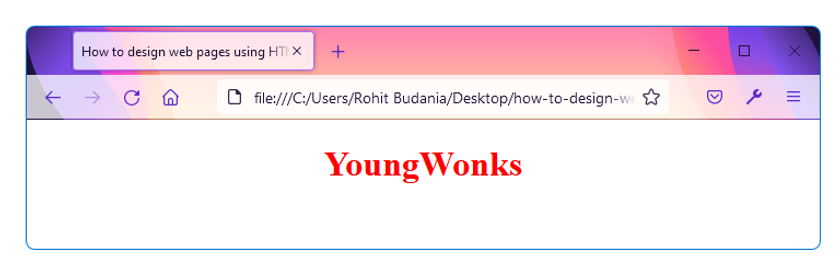
We have styled the above element using its id.
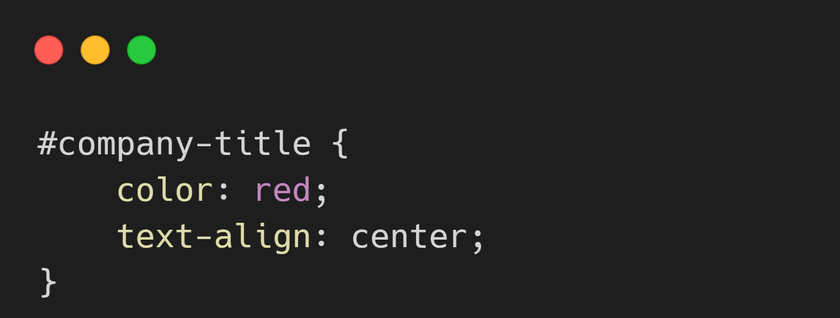
The text-align property is used to center the text alignment of the heading.
As an exercise, write the following code in the index.html file:
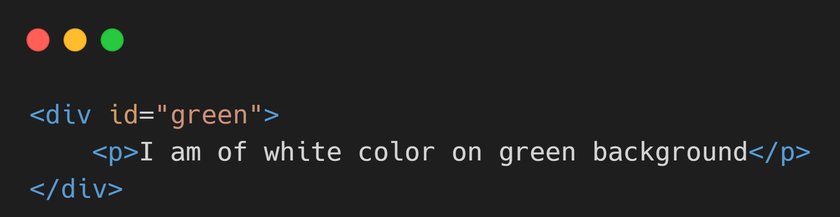
You need to write CSS rules to style the above element with its id attribute. The background color should be set to green and the color property should be set to white.
Class Selector
It selects the elements using the class attribute and is useful when we want to have common styling for multiple elements. Using a period (.) before the class name, we can style all the elements that have the specified class as one of the values in the class attribute.
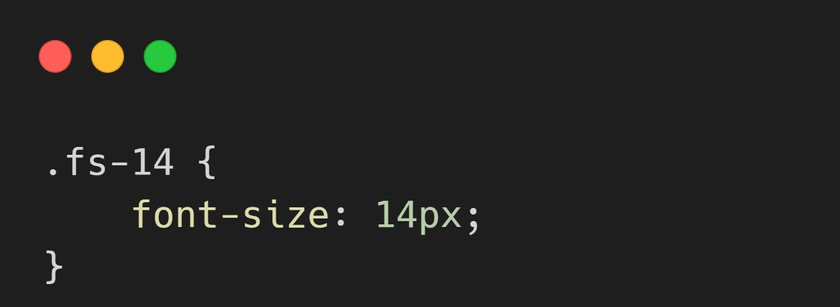
For example, if we want to set the font size of multiple elements to 14px, we can give them a class and then use the class selector to set their font size.


We can put the following code either in the style section or in the CSS file:
As an exercise, create two div elements inside the index.html file. The div elements should have background-red class as written below:
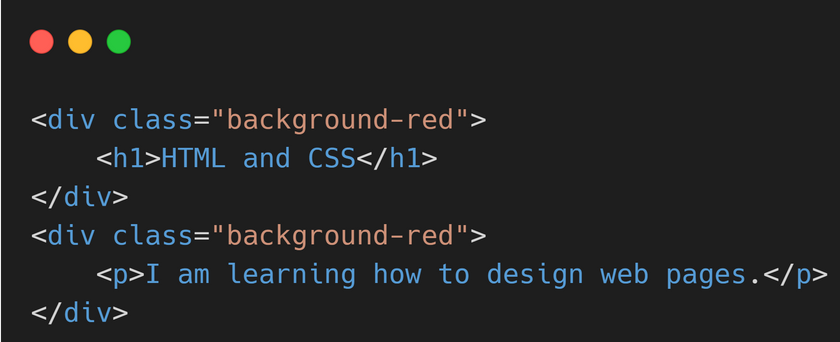
The above code brings HTML and CSS as the main heading on the page. Under it, we see the paragraph. Write CSS code for the background-red class to set the background color of the div elements to red. Also, set the line-height of the paragraph element to 28px using inline CSS.
Other Selectors
There are selectors like pseudo-class selector, pseudo-element selector and a few others that we have not explored here in order to keep this article simple and beginner friendly. You can refer to the CSS cheatsheet given below for more information on such selectors:
https://www.youngwonks.com/resources/css-cheatsheet
Mini Project
To make sure that all the above concepts are very well understood, let us work on a project. In this project:
- You need to use the following paired tags to create HTML elements: header, section, div, a, h1, p and footer.
- You should put at least three images on the page and set their size using the width and height attributes.
- The elements of the HTML page should be styled using Inline CSS, Internal CSS or External CSS according to the requirements.
- You must use classes if there are multiple elements that share same CSS styles.
- The links of the HTML page should not have underlines.
Summary
In this blog, we have covered the HTML fundamentals and the basics of CSS. We discussed how the HTML tags define the structure of the web page and how CSS makes the page presentable. It is important to note that CSS is among the fundamental languages of the web and has helped the front-end developers in web designing right from the time it was created. It is standardized across the web browsers and offers hundreds of properties to change the layout of the page, text styles, positioning and more. It is a must if one wants to provide a better user experience and user-friendly interfaces in web projects.
Explore More at YoungWonks
For parents and guardians looking to expand their child's learning horizon in the realm of technology, Coding Classes for Kids offer a unique opportunity to get them started. With the emphasis on practical knowledge, Python Coding Classes for Kids at YoungWonks introduce youngsters to one of the most versatile programming languages today. For those who are more ambitious and looking to tackle end-to-end website creation, our Full Stack Web Development Classes provide a comprehensive learning experience, laying a solid foundation in both front-end and back-end technologies.
*Contributors: Written by Rohit Budania; Lead image by Shivendra Singh