May 27, 2021 By Team YoungWonks *
In this blog, we shall take a look at how one can create a side scroller game using Python and PyGame. What is a side scroller game? A side-scrolling game or side-scroller is a video game where the gameplay action is seen from a side-view camera angle, and as the player’s character moves left or right, the screen scrolls with them. PyGame, meanwhile, refers to a cross-platform set of modules - including computer graphics and sound libraries - designed for writing video games in Python.
Requirements
To begin with, let’s make sure we have all the requirements for the project. This includes a laptop that has Python3 and Pygame already installed.
You can refer to this blog post to install Pygame on your Mac: https://www.youngwonks.com/blog/How-to-Install-PyGame-on-a-Mac
And this blog post for installing Pygame on your Windows PC: https://www.youngwonks.com/blog/How-to-Install-PyGame-on-Windows
Next you can get the assets for this project by visiting these links:
https://www.gameart2d.com/freebies.html
A Pygame cheat sheet will also come in handy, especially when you need to use different operations provided by Pygame.
This project will be done in VS Code but one can do it in any other Python editor.
Making the side scroller game using Python and PyGame
Step 1: Making a blank Pygame window
Here we need to create a blank Pygame window of size 640 x 480.
You can follow the video below to see how this is done. After following the steps in the video, you will get the blank Pygame window as shown below.
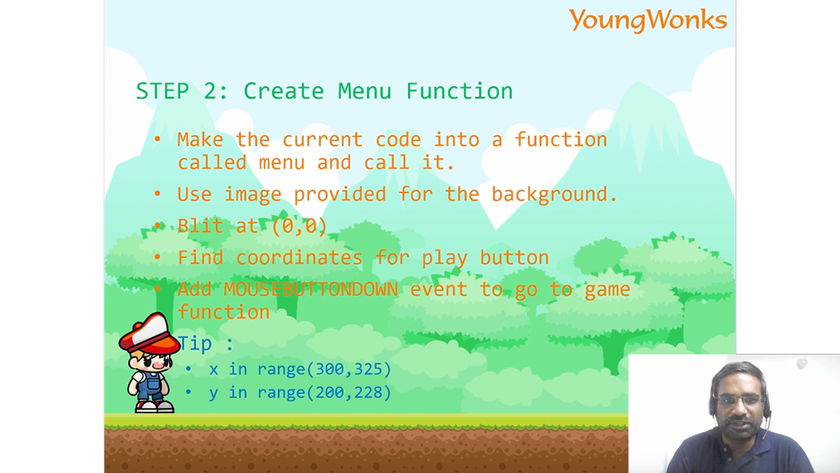
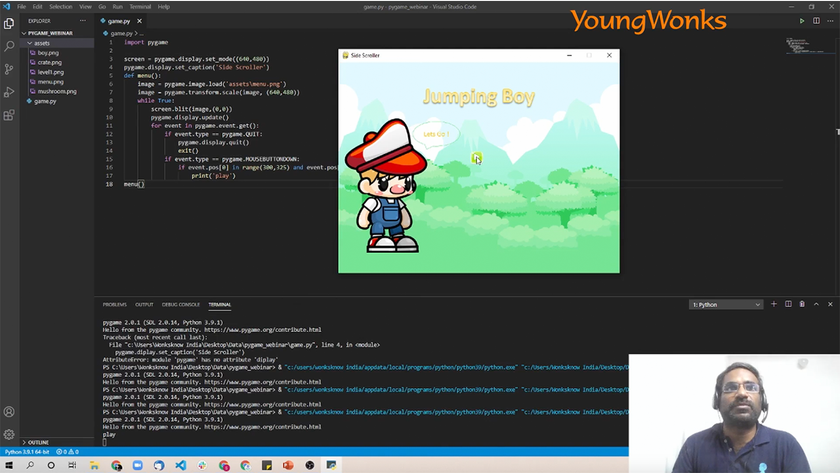
Step 2: Making a menu function
This is where one needs to create a menu function. Start by making the current code into a function and calling it menu. Then use the image provided for the background and place it at (0,0). Make sure you scale it to fit the entire window. Now look for the mouse button click in the range specified - x in range (300, 325) and y in range (200, 228) - for us to be able to go to the game function from the menu.
Next you need to follow the coding instructions as shared in the video and you will get the menu screen with the play button on your screen.
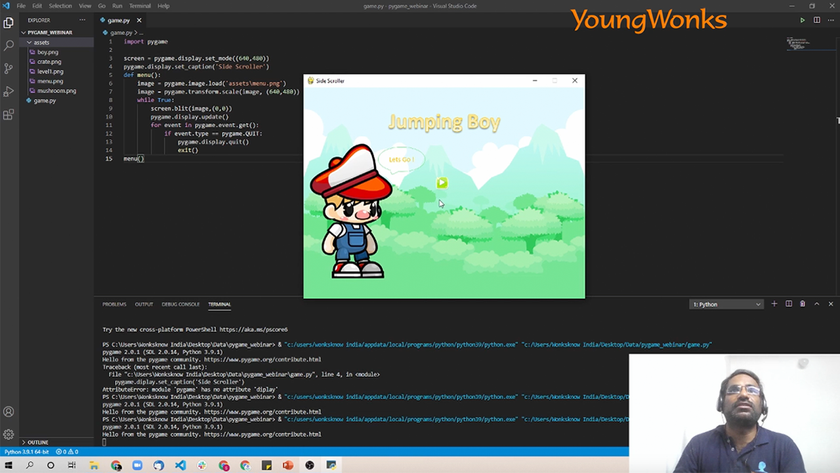
Next you need to make the play button clickable so it takes you to another function called game. Follow the coding instructions as shared in the video and you should be able to see the play button being detected.
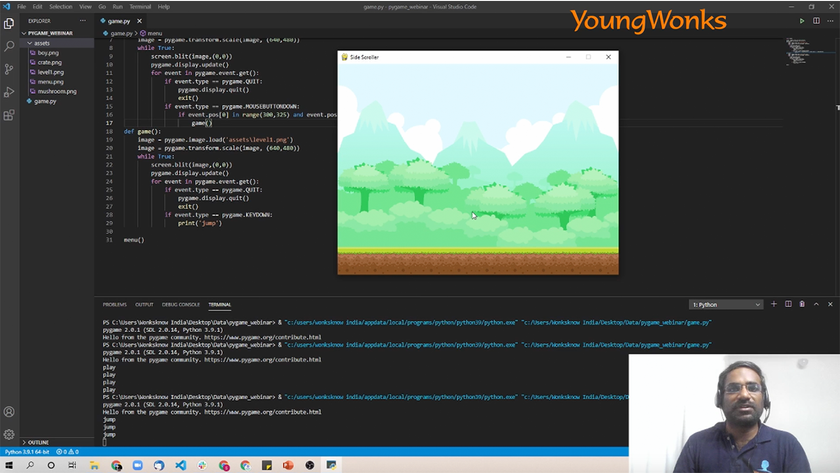
Step 3: Creating a game function
This step is about creating a game function with the background image and the key event for SPACE.
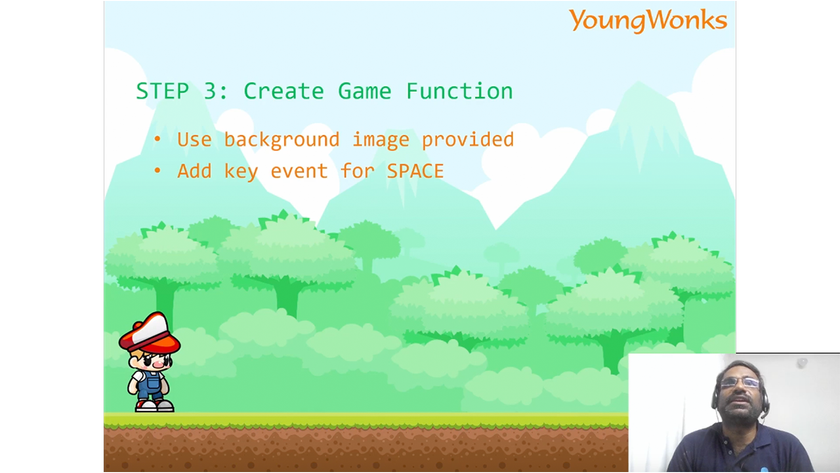
Type in the code to carry out this task as shown in the video and now when you click on the play button, it takes you to level 1. And if you press the SPACE key, you see the text jump.
Step 4: Building the side scroll
Here we make the side scroll. For this we add two additional background images that are outside the window but adjacent to the current background. Next we make the x of the screen into a variable and we constantly decrease it by 1. As it decreases, it becomes negative and when it gets to -640, we place it back at 0. The y of the screen will always be at 0. 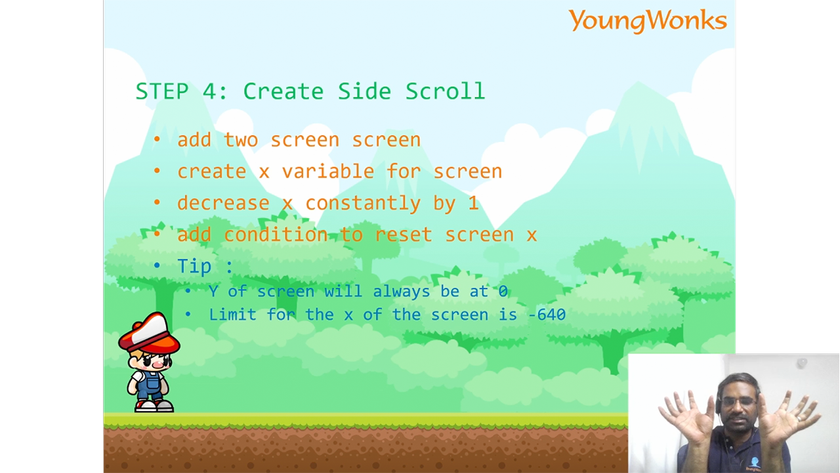
We now follow the coding instructions shared in the video to see the sidescreen scrolling as shown below.
Step 5: Making the display player character
We are going to make the player sprite stationary; i.e. keep him at one position. For the sake of ease and convenience, the position has been given to us already; so his coordinates are (50, 325). We are basically going to create an illusion of the player moving; it’s actually the screen that will be moving.
Follow the steps shared in the video and you’ll see that you may have to reduce the player sprite’s size using rotozoom.
Step 6 (part a): Making the player character jump
Make the y of the player character into a variable. Then we add a variable jump that is used like a flag when the space key is pressed. We also need a jump count because the jump continues for a while before it stops; 40 is the recommended number. The amount by which y needs to decrease is 4. Next add gravity for the player character once the jump has peaked and a bottom below which gravity will not apply. Set gravity as 1.
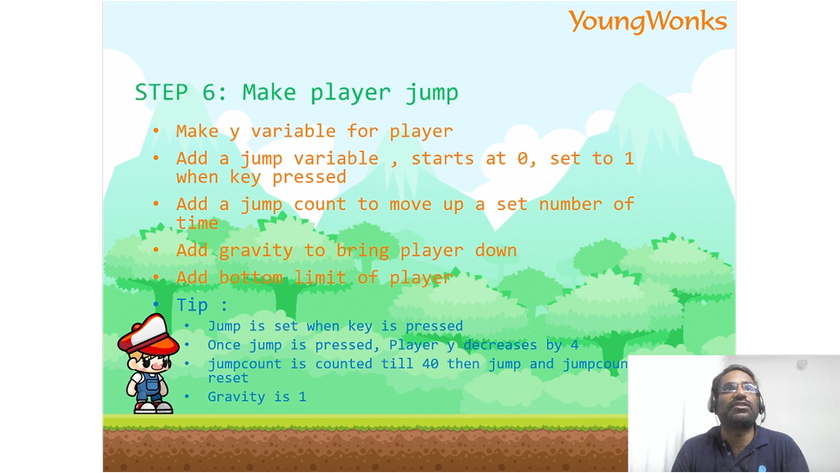
Once one has followed the coding instructions shared in the video, one shall see that the player character is now able to jump.
Step 6 (part b): Making crate obstacles
Here we make obstacles that the player character can jump over. Use the obstacle image provided, set the y to 360 and scale it down by 0.8. The x meanwhile constantly decreases and it does so faster than the screen or it will look like it’s moving with the screen. We also need to randomize each crate speed so that each one is different.
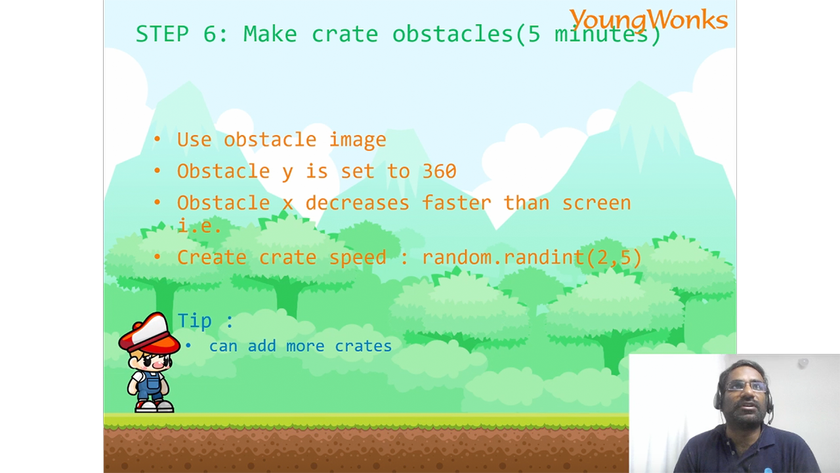
Enter the code as shown in the video to see different crates being generated at varying speeds and our player character is able to jump over them.
One can build this further by adding collectible objects.
Step 7: Detecting collision
The last step is for us to be able to detect the player character’s collision into a crate and to bring him back to the menu upon one. Type in the code as per the video instructions for this stage and you’ll see the menu come up on your screen. You can now hit play to start and jump over the crate obstacles. But if the player character hits an obstacle (crate), he will be sent back to the menu. 
This game can be extended in many ways; for example by adding scores, multiple players/ player characters, many levels and varying speeds.
Shared below is the video explaining in detail how one can create a side scroller game using Python and PyGame:
Enhance Your Coding Skills with YoungWonks
If you're excited about making your own side scroller game with Python and Pygame, consider further enhancing your coding skills with Coding Classes for Kids offered by YoungWonks. Delving deeper into programming languages and game development can be both fun and rewarding, and YoungWonks provides the perfect platform for this exploration. Take advantage of our Python Coding Classes for Kids for a more focused study on Python, or explore our Raspberry Pi, Arduino and Game Development Coding Classes to expand your knowledge across various platforms and devices. Each course is designed to spark creativity, foster problem-solving skills, and prepare you for future technological challenges.
*Contributors: Written by Vidya Prabhu; Lead image by: Leonel Cruz